Improving Drag in React JS: A Smoother Approach to Draggable Elements
When building interactive web components, such as a draggable element, you might run into the problem where the native draggable attribute leaves the original element in place while dragging a semi-transparent copy. This behavior can feel clunky and disrupts the user experience. In this blog, I’ll show you how to build a smooth draggable component where the element itself follows the mouse pointer, rather than a ghost image.
By default, when you set an HTML element to draggable="true", the browser shows a semi-transparent copy of the element that moves with your mouse. While this behavior is native and functional, it often doesn’t look great. You want to make sure that the original element moves smoothly with the cursor without showing the browser’s default ghost image.
Solution
The solution is to create an overlay element that follows the mouse pointer while hiding the original element during dragging. This approach improves the user experience and creates a smoother drag-and-drop interaction.
Step-by-Step Guide
-
Setup Initial State
We are going to need some state to handle the Drag & Drop.
const [isDragging, setIsDragging] = useState(false);
    const [offset, setOffset] = useState(null);
    const [position, setPosition] = useState(null);
const draggableRef = useRef(null);isDragging: This will store the current drag state of the element.
offset: When the user starts dragging, they can click anywhere within the draggable element. This stores the coordinate distance between the element’s origin point and the clicked position.
position: This will store the current cursor position.
draggableRef: We’ll use this to retrieve the origin position of the draggable element.
-
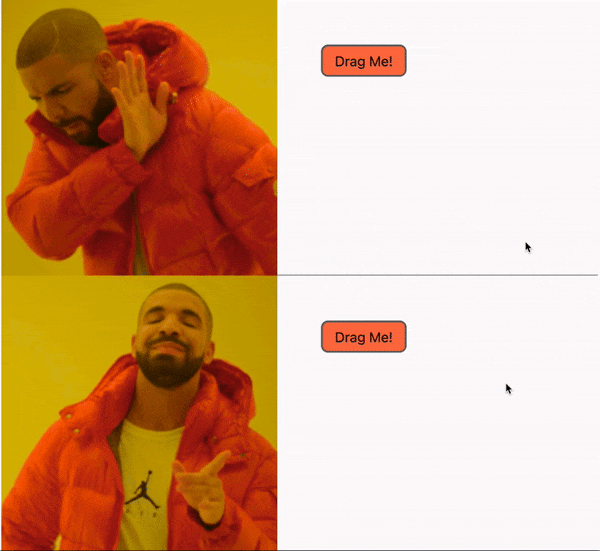
Create the Draggable Element
First, let’s set up a simple HTML element to drag:
return (
      <div className="App">
        {
          isDragging && position && (
            <div
              className="draggable-item draggable-overlay"
              style={ `top: ${position.y}px; left: ${position.x}px`}
            >
              Drag Me!
            </div>
          )
        }
        <div
          ref={draggableRef}
          onMouseDown={handleMouseDown}
          className="draggable-item"
          style={`opacity: ${isDragging ? 0 : 1};`}
        >
          Drag Me!
        </div>
      </div>
);-
Handle Drag Start: Hide the Original and Create an Overlay
We are not going to use native
dragevents. Instead we will be usingonMouseDownevent as it will give us more flexibility.
const getInitialPosition = () => {
      const draggableElement = draggableRef?.current?.getBoundingClientRect();
      return {
        x: (draggableElement?.x || 0) + window.scrollX, // It will handle edge case when there is scroll in the page.
        y: (draggableElement?.y || 0) + window.scrollY,
      };
    };

    const handleMouseDown = (event) => {
      setIsDragging(true);
      const initialPosition = getInitialPosition();
      setOffset({
        x: event.clientX - initialPosition.x,
        y: event.clientY - initialPosition.y,
      });
      setPosition(initialPosition);
      document.addEventListener('mouseup', handleMouseUp);
    };

    useEffect(() => {
    if (offset) {
      document.addEventListener('mousemove', handleMouseMove);
    } else {
      document.removeEventListener('mousemove', handleMouseMove);
    }

    return () => {
      document.removeEventListener('mousemove', handleMouseMove);
    };
}, [offset]);-
Move the Overlay with the Mouse
In last step we had added an
eventListeneronmousemoveevent. Now, let’s make sure that on mouse move the overlay follows it.
const handleMouseMove = (event) => {
      if (!isDragging) return;

      if (event.clientX > 0 && event.clientY > 0) {
        setPosition({
          x: event.clientX - (offset?.x || 0),
          y: event.clientY - (offset?.y || 0),
        });
      }
};-
Clean Up on Drag End
Once the dragging is finished, we need to remove the overlay and make the original element visible again. Also we need to remove the
mousemoveevent listener.
const handleMouseUp = () => {
      setIsDragging(false);
      setPosition(null);
      setOffset(null);

      document.removeEventListener('mouseup', handleMouseUp);
};-
Styling the Draggable & Overlay
Finally, you can style the overlay so that it looks like the original element. This CSS will ensure that the overlay matches the original element’s appearance.
.draggable-item {
      border: 2px solid #707070;
      padding: 7px 14px;
      border-radius: 8px;
      width: fit-content;
      cursor: grab;
      user-select: none;
      background-color: coral;
    }

    .draggable-overlay {
      position: absolute;
      cursor: grabbing;
      box-shadow: 0px 20px 25px -5px #0000001a;
    }
Conclusion
By using an overlay element to follow the mouse and hiding the original element, you can avoid the default ghost image that the browser shows when dragging. This method provides a smoother and more visually pleasing drag-and-drop experience.
Feel free to experiment with this solution in your projects, and let me know if you find any other creative ways to enhance the draggable experience!